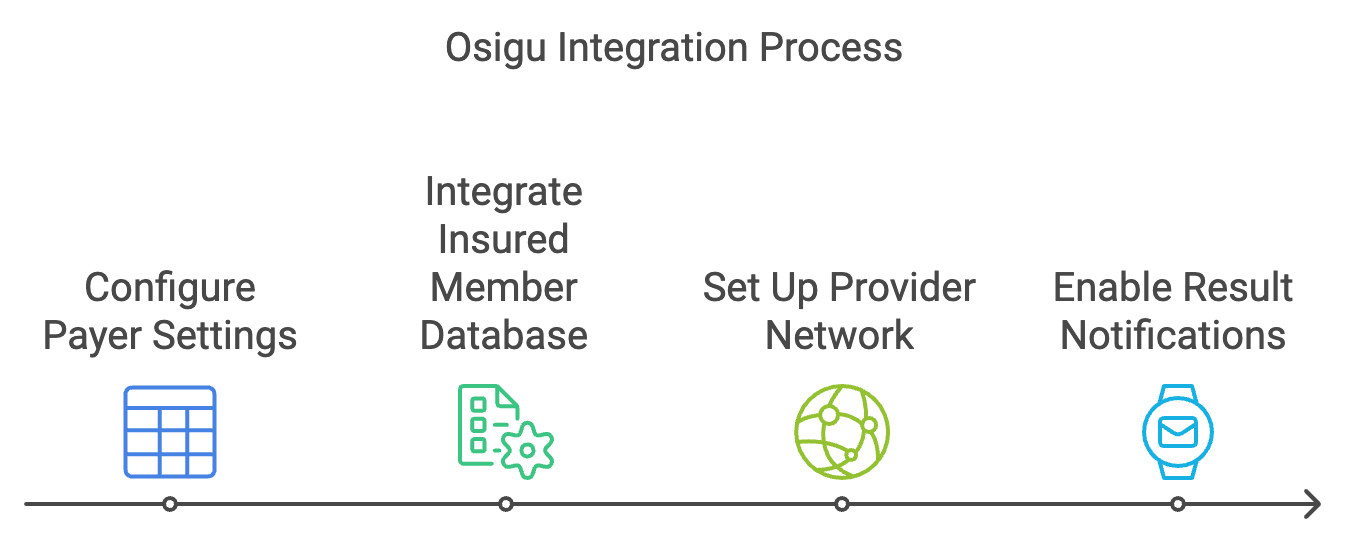
Integration with Osigu
The integration process with Osigu enables seamless real-time issuance of digital authorizations. This process ensures that Payers, Providers, and Beneficiaries collaborate efficiently while leveraging automated protocols, business rules, and validations.
To successfully integrate with Osigu, the following key steps must be completed:

1. Configure Payer Settings
Set up the Payer's configuration in the Osigu platform to define the following:
- Authorization types (e.g., Medications, Labs, Imaging).
- Medical appropriateness rules (e.g., diagnosis and CPT coding).
- Operational rules, including authorization validity, fraud prevention, and communication methods.
See the Payer Configuration Guide for more details.
2. Integrate Insured Member Database
Provide Osigu with accurate insured member data for eligibility verification and other validations. This can be achieved through one of the following methods:
- Web Service Integration: Set up a real-time service for beneficiary searches and policy information.
- File Uploads: Regularly upload CSV files with insured member data.
- Osigu Web Service: Use Osigu’s service to send updates whenever beneficiary data changes.
See the Insured Database Integration Guide.
3. Set Up Provider Network
Ensure providers are integrated with the Osigu platform to submit authorization requests. Providers can interact with the platform using:
- REST API services.
- The Authorization Widget.
- The Osigu Provider Web Portal.
See the Provider Integration Guide.
4. Enable Result Notifications
Share authorization results with all relevant parties using various communication channels:
- Email notifications with a PDF for beneficiaries.
- REST API delivery of authorization results to Payers.
- Real-time notifications via Webhooks.
See the Webhooks Guide for more details.
Updated 8 months ago
